How To Setup User Login Steps
This article will teach you how to customize the user login steps.
Table of contents:
- Getting started
- Required information
- Social login
- Make social login mandatory
- Add custom fields
- Text field
- Select field
- Radio buttons
- Checkbox
- Textarea
- Secret code
- Crypto wallet address
- Require e-signature
- Require age confirmation
- Date format
- Entry amount
- Pre-populate name/email
- Example giveaway
Getting started
Navigate to User Login Steps. From here you will see all of the options for customizing the login process.
Important: Full Name and Email are always required by default. There is no way to disable this.
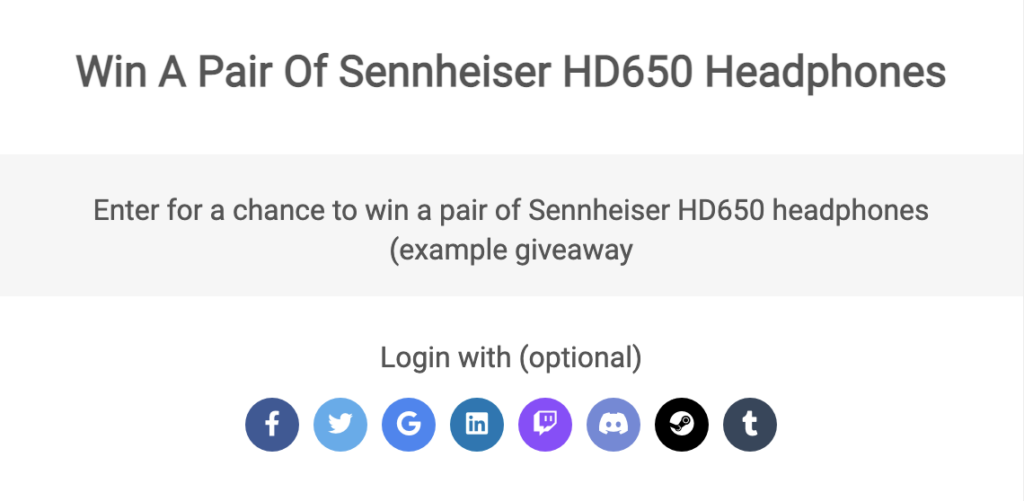
Social login
Select which ways you want to allow the user to login VIA social media.
The following 11 social login options are available:
- Twitch
- Discord
- Steam
- Tumblr
- Telegram
- Spotify
Admin View

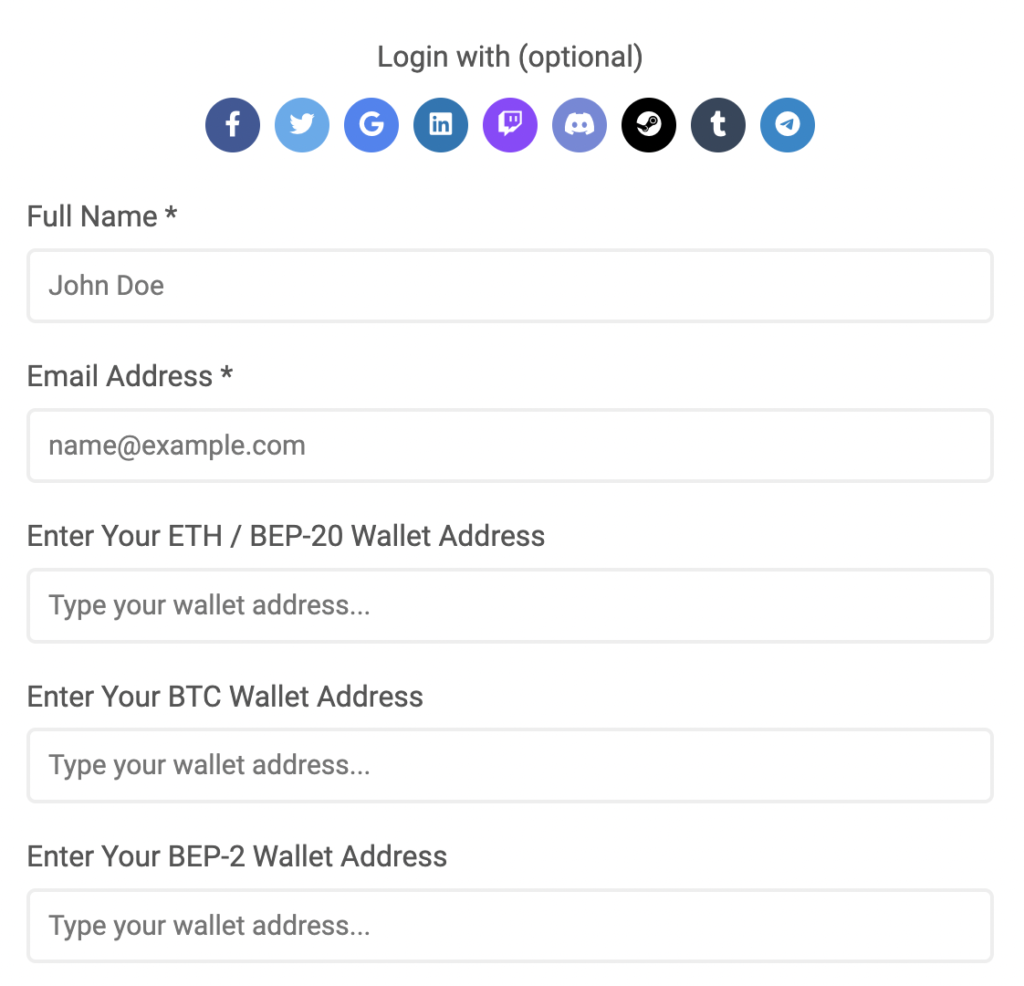
Public view
The user will see the social login options at the top of the form. If you don’t set it to required then it will be optional
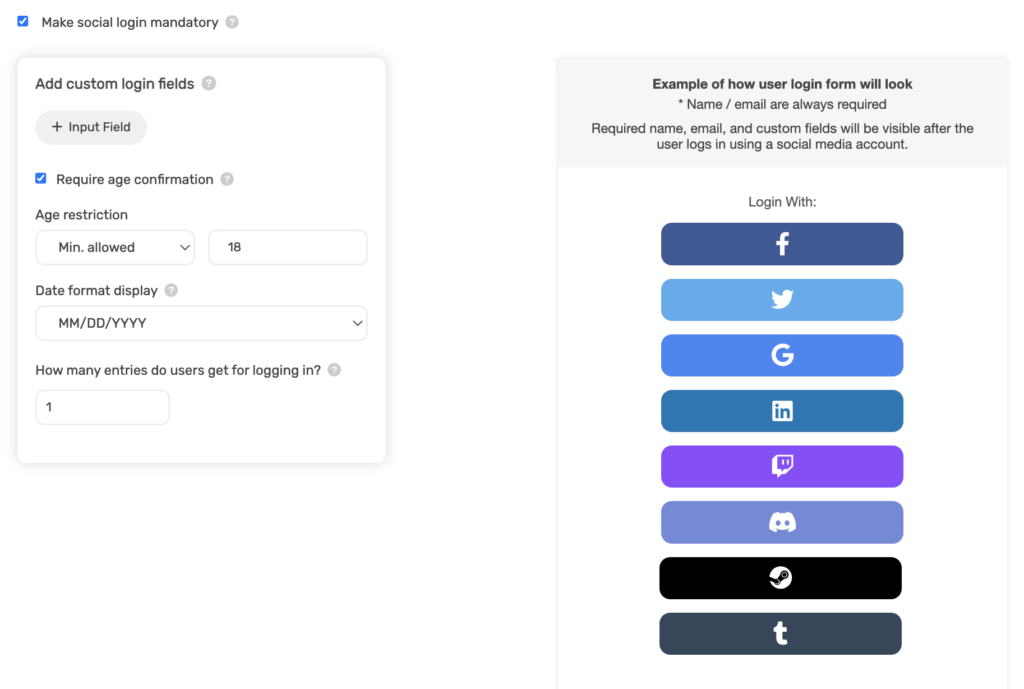
Make social login mandatory
This will make it so the user can’t enter the giveaway until they complete a social login. Reasons to to do this are:
- Make sure people are who they say they are.
- If you’re running a specific type of giveaway then you might want to only allow logins for that platform. I.e. Instagram only giveaway.
Admin view
To enable this: tick the Make social login mandatory checkbox.
Public view
The user can’t proceed until they login VIA social media.
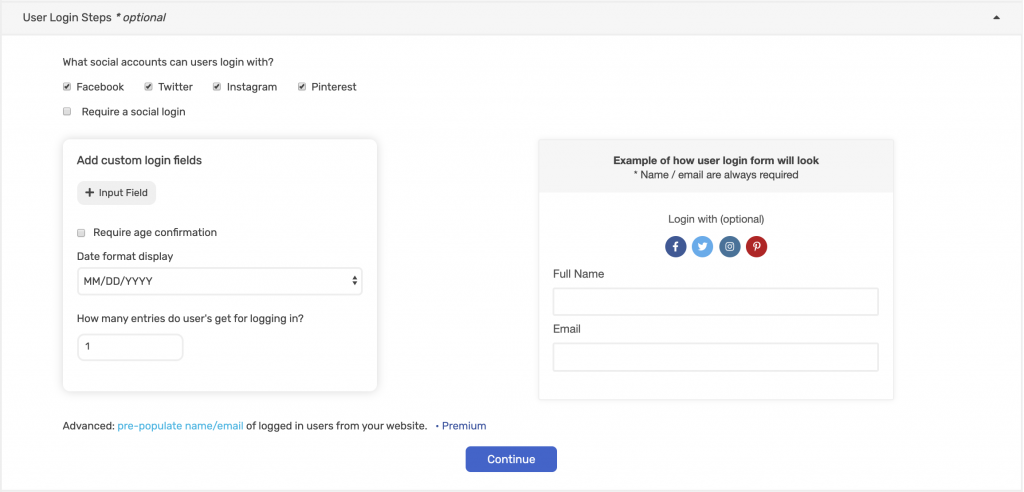
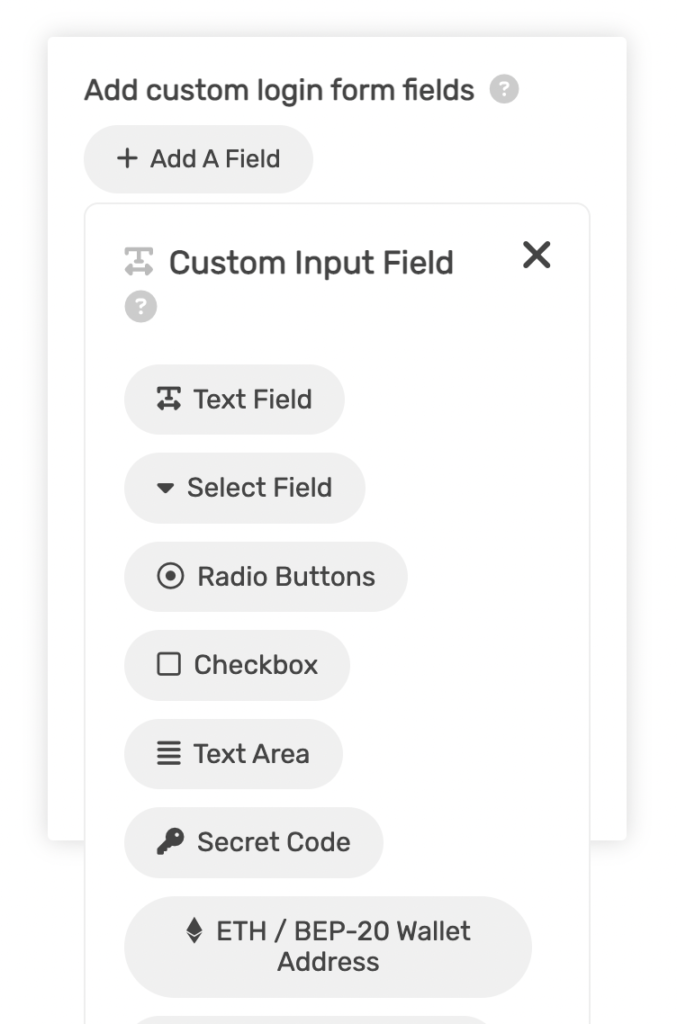
Add custom fields
Navigate to User Login Steps > Add custom login form fields and click the + Add A Field.
Text field
Admin view
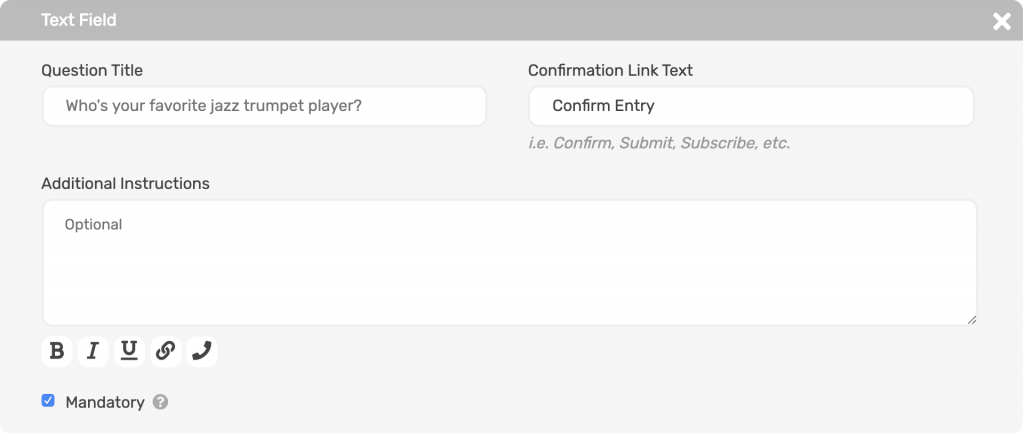
Navigate to User Login Steps > Add custom login fields > + Add A Field > Text Field.
Fill in the required fields. Note: if you tick the Mandatory checkbox, the user must fill this out.
Public view

Select field
Admin view
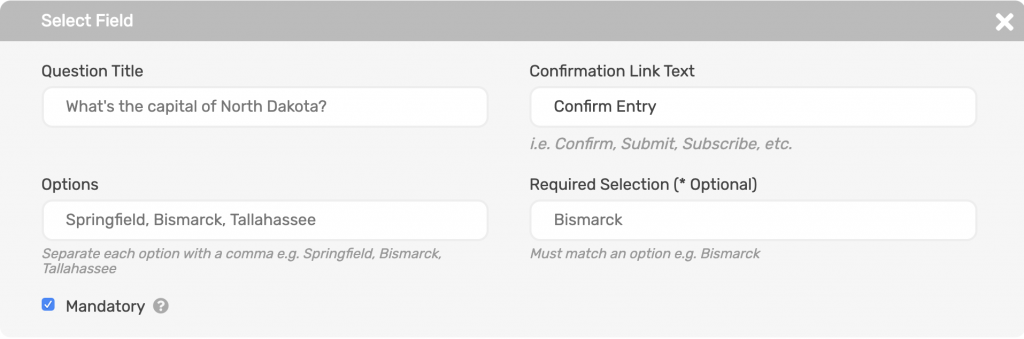
Navigate to User Login Steps > Add custom login fields > + Add A Field > Select Field.
Fill in the required fields. Note: if you tick the Mandatory checkbox, the user must fill this out.
Put the select field options in the Options field and separate them by a comma i.e. Springfield, Bismarck, Tallahassee.
If you require a correct answer put it under Required Selection. Note: this must exactly match one of your options.
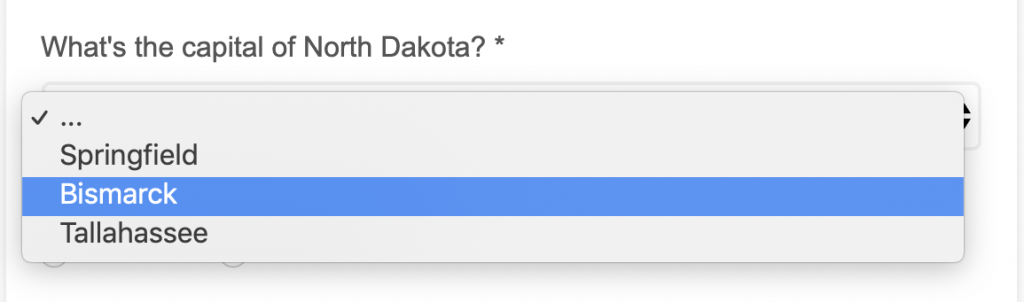
Public view
Radio buttons
Admin view
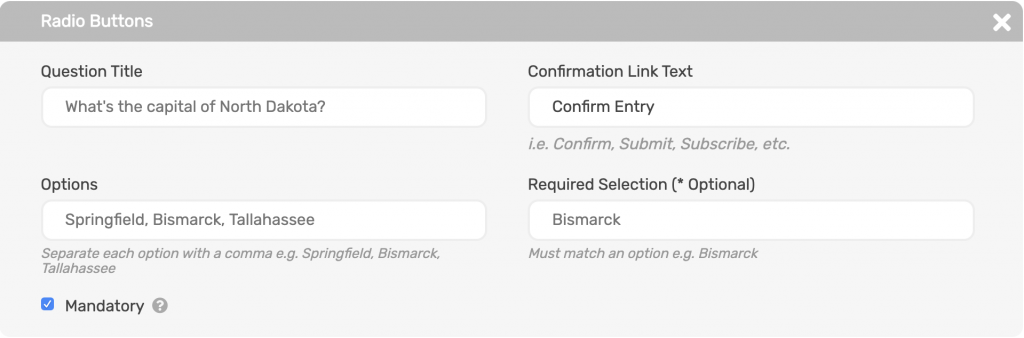
Navigate to User Login Steps > Add custom login fields > + Add A Field > Radio Buttons.
Fill in the required fields. Note: if you tick the Mandatory checkbox, the user must fill this out.
Put the select field options in the Options field and separate them by a comma i.e. Springfield, Bismarck, Tallahassee.
If you require a correct answer put it under Required Selection. Note: this must exactly match one of your options.
Public view

Checkbox
Admin view
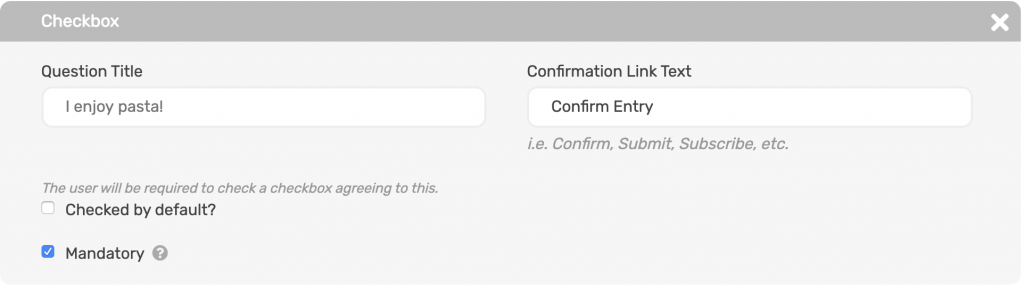
Navigate to User Login Steps > Add custom login fields > + Add A Field > Checkbox.
Fill in the required fields. Note: if you tick the Mandatory checkbox, the user must fill this out.
To have the checkbox checked by default, tick Check by default.
Public view

Textarea
Admin view
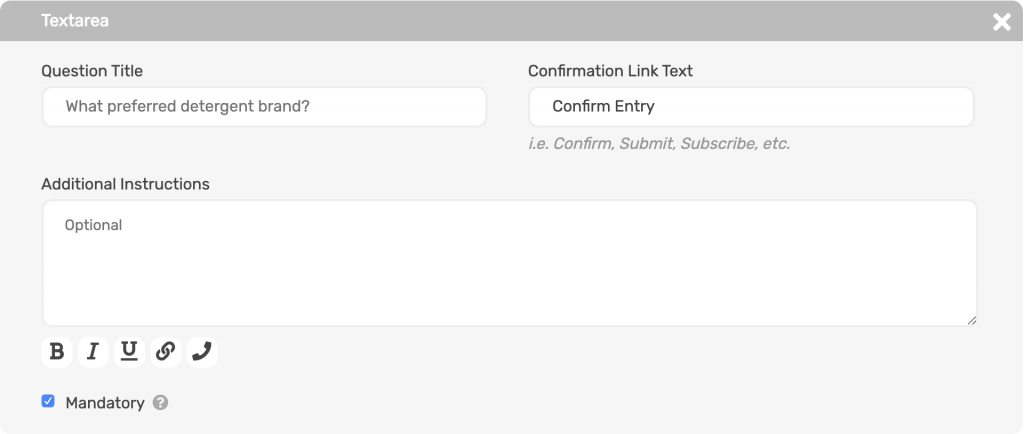
Navigate to User Login Steps > Add custom login fields > + Add A Field > Textarea.
Fill in the required fields. Note: if you tick the Mandatory checkbox, the user must fill this out.
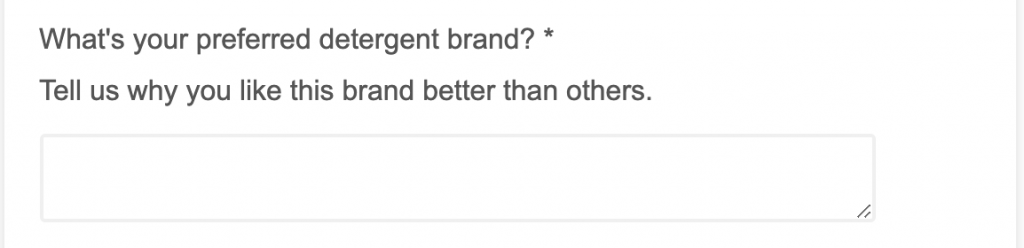
Public view
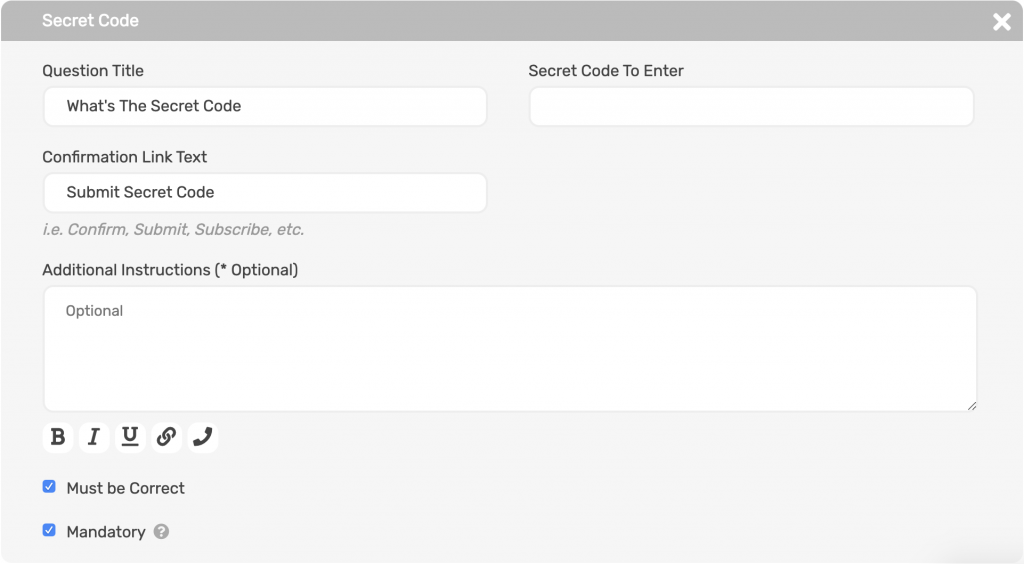
Secret code
Admin view
Navigate to User Login Steps > Add custom login fields > + Add A Field > Secret Code.
Fill in the required fields. Note: if you tick the Mandatory checkbox, the user must fill this out.
If you require the code to correct, tick the Must be Correct checkbox.
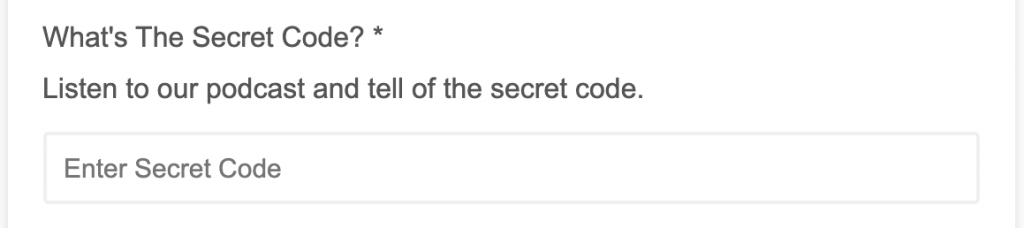
Public view
Enter crypto wallet address
Admin view
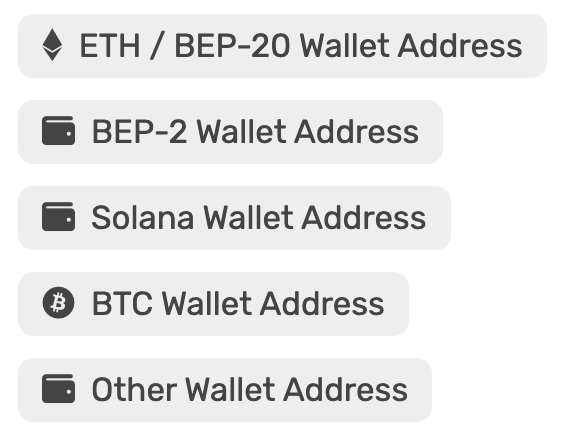
Navigate to User Login Steps > Add custom login fields > + Add A Field. Then, you can choose from 4 different crypto wallet address options:
- BTC wallet address (this will auto validate the address when a user submits it)
- Enter Your ETH / BEP-20 Wallet Address (this will auto validate the address when a user submits it)
- Enter Your BEP-2 Wallet Address (this will auto validate the address when a user submits it)
- Enter Your Solana Wallet Address (this will auto validate the address when a user submits it)
- Other type of wallet address (miscellaneous type of address – no validation)
Fill in the required fields.
Disallow duplicate wallet addresses
If you leave the Allow duplicate wallet addresses checkbox unticked, then users must enter a unique wallet address. This means that no 2 users will be able to enter using the same wallet address.

Public view
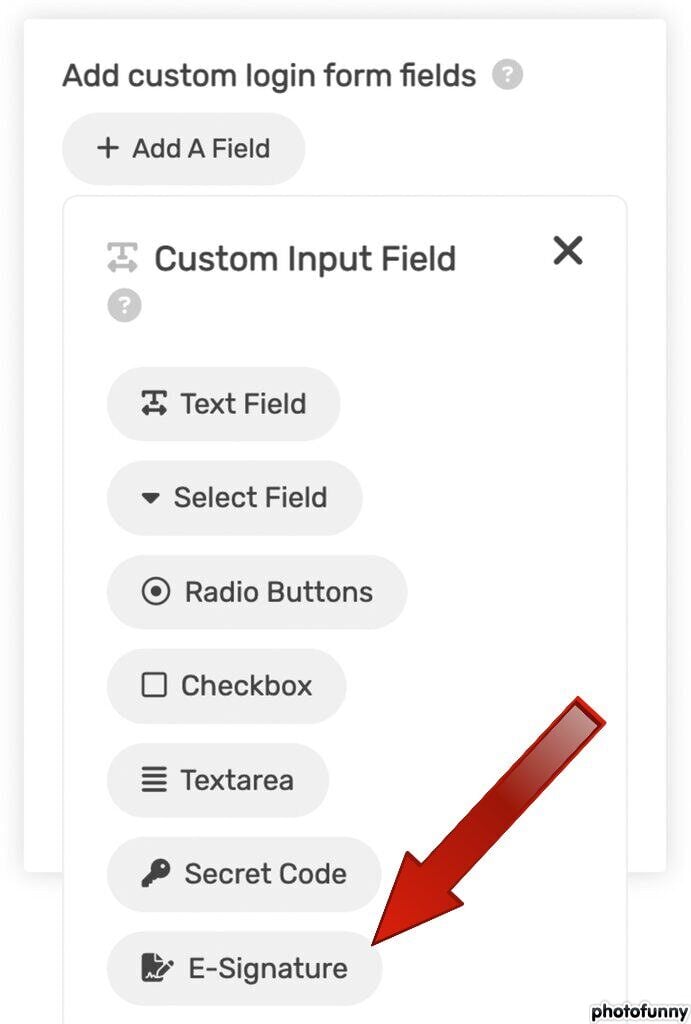
Require e-signature
You can add a required login field where you ask users to e-sign their name. To do this, create/edit a giveaway. Then navigate to the Login Steps tab, click the + Add A Field button, then choose E-Signature.
Admin View
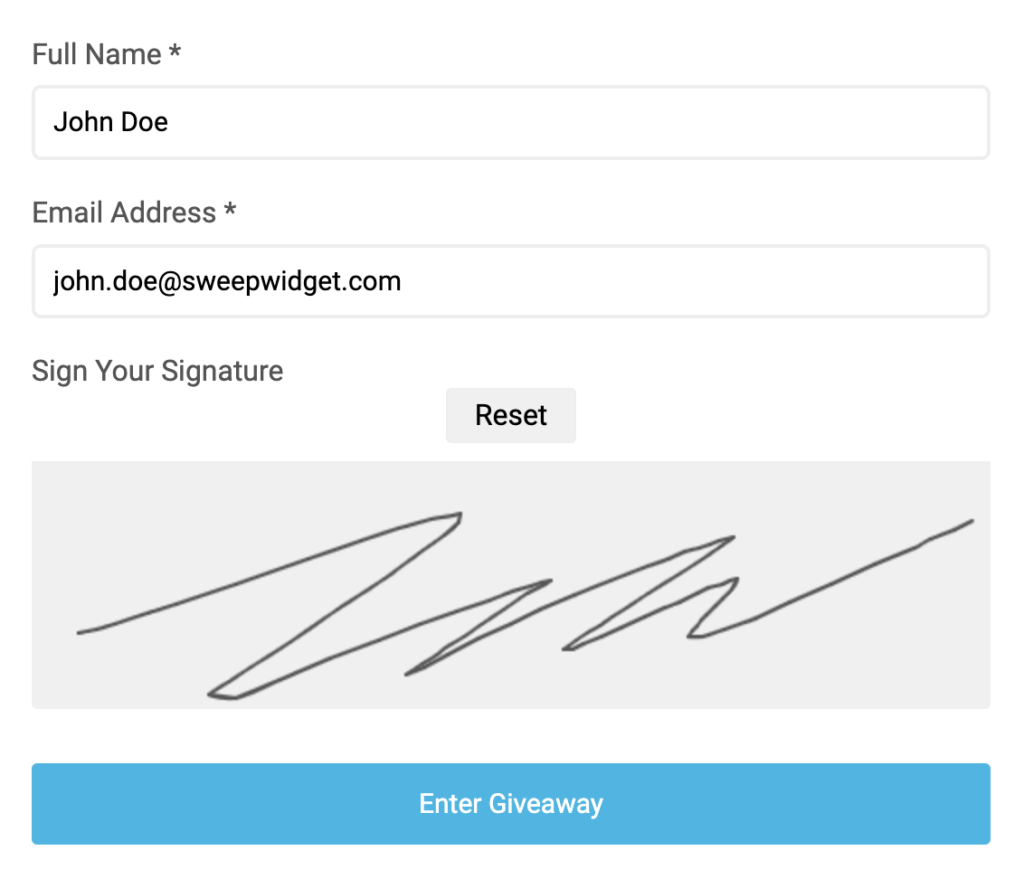
Public View
When the user is entering the giveaway, they will be presented a form field where they can sign their name.
Managing the data as an admin
In the Entries section for your giveaway, you can now view and download the signature for each user. To download it, just click on the signature image and download it from there.

Require age confirmation
Admin view
Navigate to User Login Steps > Add custom login fields > Age restriction.
- Tick the Require age confirmation check box.
- Set you age restriction minimum/maximum and the age amount. Example: Minimum age allowed 18.

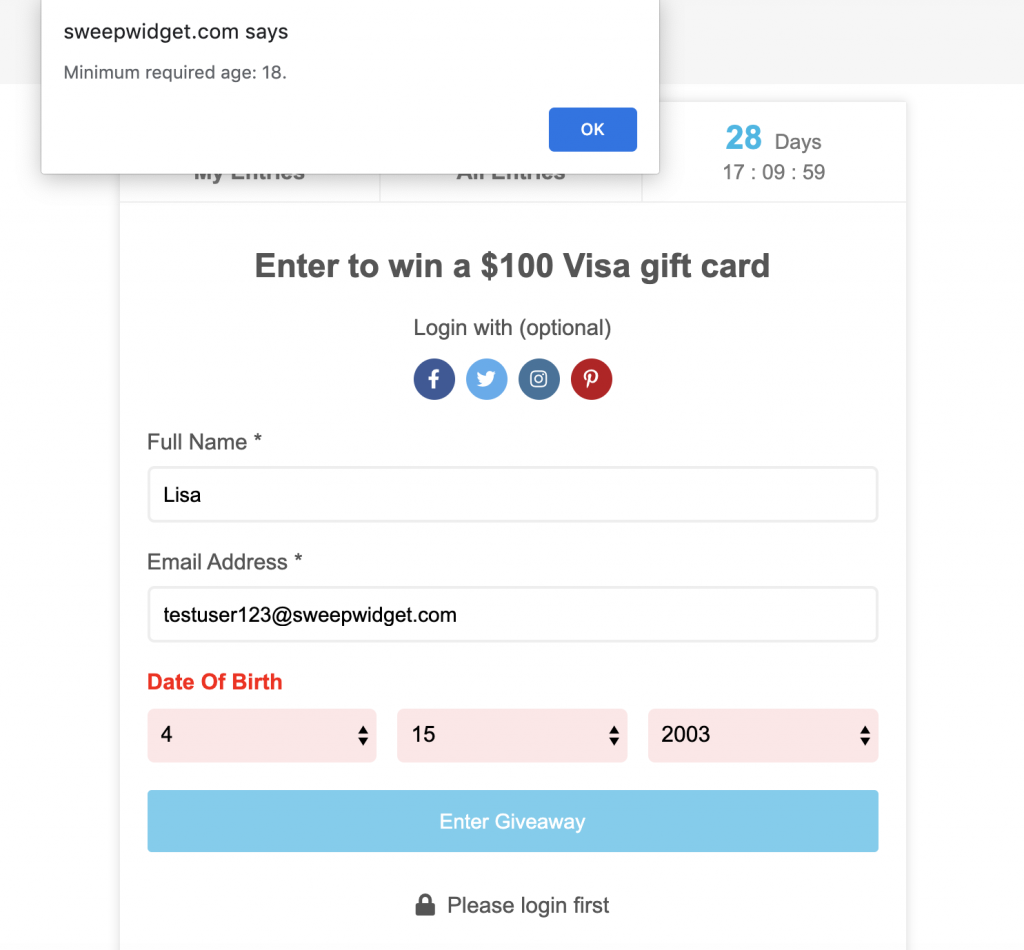
Public view
The Date Of Birth fields will be listed below Full Name and Email Address.

Example error
If the user doesn’t meet the age requirement, they will get an error and won’t be allowed to enter.
Date format
Admin view
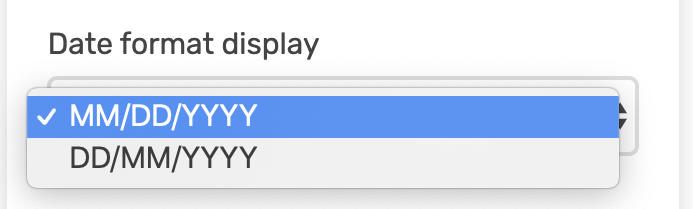
Navigate to User Login Steps > Add custom login fields > Date format display.
You can set it to 2 formats:
- MM/DD/YYYY
- DD/MM/YYYY
Public view
If you have an age requirement, it will display in your preferred format.

The date format will also be displayed in the rules section.

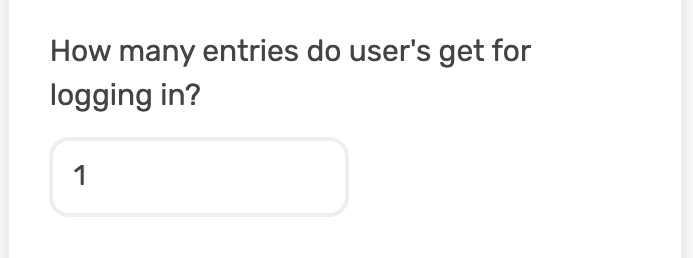
Entry amount
Admin view
Navigate to User Login Steps > Add custom login fields > How many entries do user’s get for logging in?
This is the number of entries the user will receive for completing all of the login fields.
Note: the entry amount will be the same whether it’s just name/email or if you have a multiple login fields. Users can gain additional entries by completing entry methods in the Ways Users Can Enter section.