How to Connect Klaviyo to Your Giveaway
Klaviyo is a powerful email marketing platform that helps you build customer relationships. With SweepWidget’s Klaviyo integration, you can automatically add giveaway participants to your Klaviyo lists when they complete the “Subscribe To Newsletter” entry method.
Table of Contents
- Overview
- Requirements
- Step 1: Get Your Klaviyo Private API Key
- Step 2: Add the Newsletter Subscription Entry Method
- Step 3: Connect Klaviyo
- Step 4: Test Your Integration
- Troubleshooting Common Issues
- What Data Gets Sent to Klaviyo
- Frequently Asked Questions
Overview
The Klaviyo integration allows you to grow your email list while running giveaways. When a participant completes the “Subscribe To Newsletter” entry method, their name and email address are automatically added to your selected Klaviyo list.
Plan Required: Pro plan or higher
Requirements
Before you begin, make sure you have:
- A Klaviyo account (free or paid)
- At least one list created and active in Klaviyo (lists must be published, not in draft status)
- Your Klaviyo private API key (not the public key) with the correct permissions
- A SweepWidget Pro plan or higher
Important: API Key Permissions Required
Your Klaviyo private API key must have both of these permissions for the integration to work:
| Permission | Access Level | Why It’s Needed |
|---|---|---|
| Lists | Read | To fetch and display your available lists in SweepWidget |
| Profiles | Full Access (Read/Write) | To create new subscriber profiles and add them to your lists |
If either permission is missing, the integration will fail. Lists won’t load without “Lists – Read” permission, and subscribers won’t be added without “Profiles – Full Access” permission.
Step 1: Get Your Klaviyo Private API Key
Important: You must use your private API key, not the public key. The public key will not work for this integration.
To find your Klaviyo private API key:
- Log in to your Klaviyo account
- Click on your account name in the lower-left corner
- Select Settings
- Click on API Keys in the left sidebar
- Under “Private API Keys”, you’ll see your existing keys or can create a new one
- Click Create Private API Key if you need a new one
- Give it a name like “SweepWidget Integration”
- Set the required scopes/permissions:
- Lists – Select Read access
- Profiles – Select Full Access (both Read and Write)
- Click Create to generate the key
- Copy the API key immediately (it starts with “pk_” for private keys)
Note: Private keys start with pk_ while public keys start with a different prefix. Make sure you’re using the private key.
For detailed instructions, see Klaviyo’s guide on managing API keys.
Before You Continue: Create a List in Klaviyo
Before connecting to SweepWidget, make sure you have at least one active/published list in your Klaviyo account:
- In Klaviyo, go to Audience → Lists & Segments
- Click Create List / Segment
- Select List
- Give your list a name (e.g., “Giveaway Subscribers”)
- Click Create
Important: The list must be active/published. Draft lists or suppression lists will not appear when you fetch lists in SweepWidget.
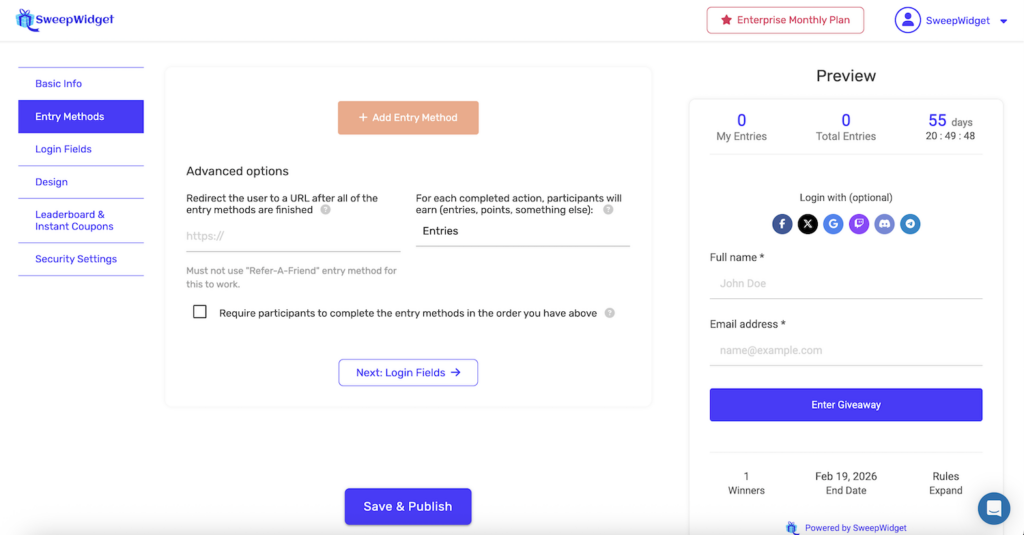
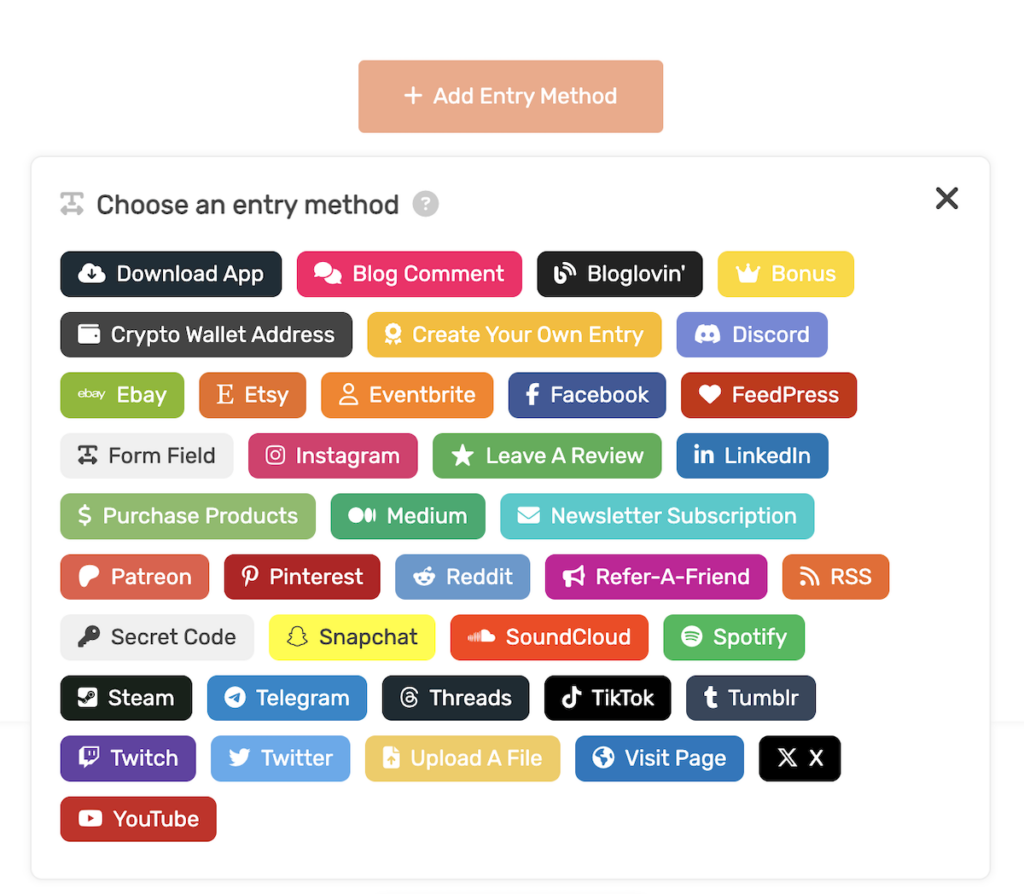
Step 2: Add the Newsletter Subscription Entry Method
- In your SweepWidget giveaway editor, go to the Entry Methods tab
- Click the + Add Entry Method button
- From the entry method selection popup, click Newsletter Subscription (it has an envelope icon)
After adding the entry method, you’ll see the configuration panel:

Configure the basic settings:
- Entry Label: The text participants will see (default: “Subscribe To Newsletter”)
- Worth # entries: How many entries this action is worth
- Newsletter Name: A display name for your newsletter (e.g., “My Newsletter”)
- Mandatory: Check this to require participants to subscribe to enter
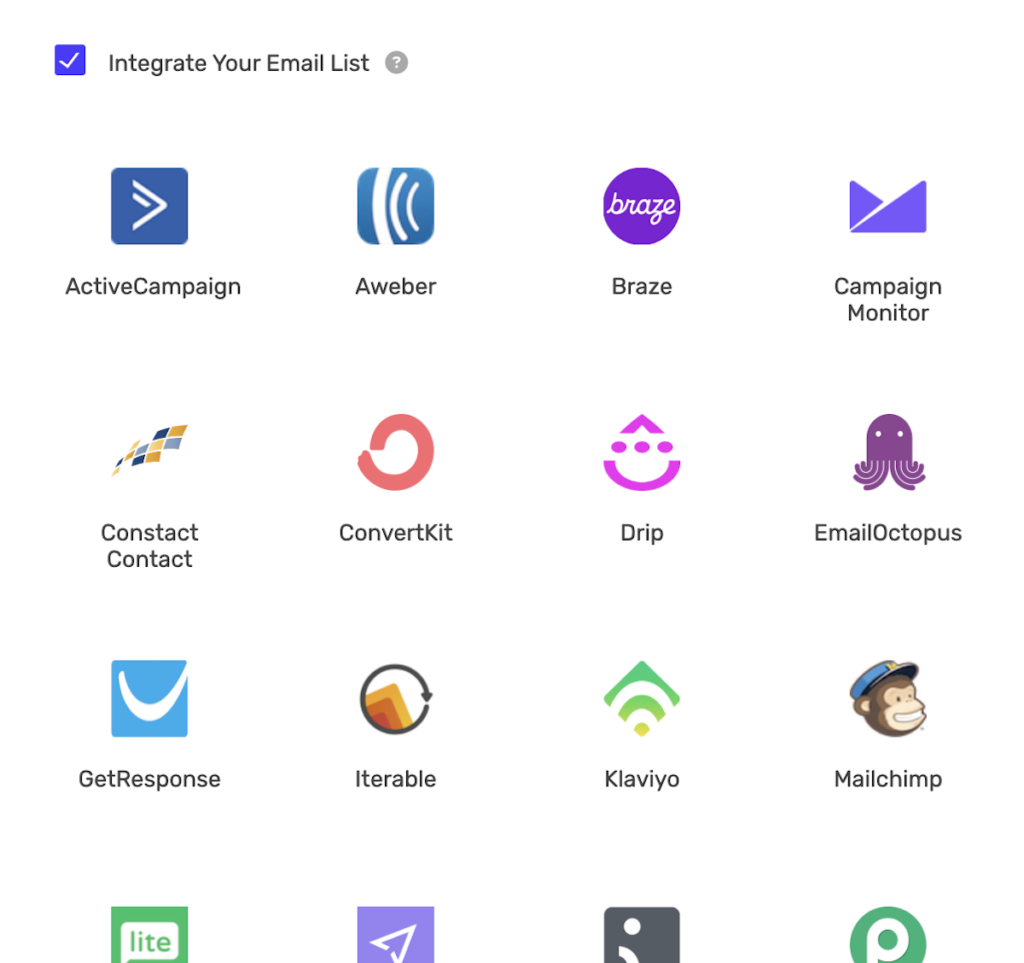
Step 3: Connect Klaviyo
Now connect your Klaviyo account:
- Check the box Integrate Your Email List
- A grid of email marketing providers will appear
- Click on the Klaviyo icon
After selecting Klaviyo, you’ll see the API configuration section:

- In the “Enter your Klaviyo private API key” field, paste your private API key
- Click the Fetch Lists button
- Wait for your lists to load (this may take a few seconds)
- Select the list you want subscribers added to from the Newsletter Lists dropdown
- Click Save & Publish to save your giveaway
If no lists appear: Make sure your API key has “Lists – Read” permission and that you have at least one active list in Klaviyo (not a draft or suppression list).
Step 4: Test Your Integration
Before launching your giveaway, test the integration:
- Preview your giveaway or visit the live giveaway URL
- Enter the giveaway with a test email address
- Complete the “Subscribe To Newsletter” entry method
- Go to your Klaviyo account and check your list
- Verify the test email was added to the list
Tip: Use a different email than your Klaviyo account email for testing, as some platforms filter out their own account emails.
Troubleshooting Common Issues
Lists Not Loading / “No lists found”
If clicking “Fetch Lists” doesn’t show your lists:
- Wrong API key type: Make sure you’re using your private API key (starts with
pk_), not the public key - Missing API permission: Your API key needs “Lists – Read” permission. Create a new key with this permission if missing
- No active lists exist: Create at least one active/published list in Klaviyo before trying to fetch. Draft lists and suppression lists won’t appear
- API key inactive: Check in Klaviyo that the API key is active and not revoked
- Copy/paste error: Re-copy the API key directly from Klaviyo, ensuring no extra spaces
Subscribers Not Being Added to List
If participants complete the entry but don’t appear in your Klaviyo list:
- Missing API permission: Your API key needs “Profiles – Full Access” (Read and Write) permission to create profiles and add them to lists. This is the most common issue!
- Profile already exists: If the email already exists in Klaviyo, they’ll be added to the list (not duplicated). Check if they’re already a member
- List changed: If you renamed or deleted the list in Klaviyo after setting up the giveaway, you need to re-fetch lists and re-select
- Check suppressed profiles: In Klaviyo, check if the email is in your suppressed list
“Error” When Fetching Lists
If you see an error message:
- Invalid API key: The API key is incorrect or has been revoked
- Network issues: Try refreshing the page and fetching again
- Klaviyo outage: Check Klaviyo’s status page for any service disruptions
What Data Gets Sent to Klaviyo
When a participant completes the newsletter subscription entry method, the following data is sent to Klaviyo:
| Field | Klaviyo Profile Field | Notes |
|---|---|---|
| Email address | Required – used to identify the profile | |
| Full name | first_name | The participant’s name from the giveaway entry |
Note: The integration creates a new profile in Klaviyo if one doesn’t exist with that email, then adds the profile to your selected list.
Frequently Asked Questions
Can I add subscribers to multiple lists?
Each newsletter subscription entry method can only connect to one list. To add subscribers to multiple lists, add multiple “Newsletter Subscription” entry methods, each connected to a different list.
What happens if someone is already on my list?
If a profile with that email already exists in Klaviyo, the integration will simply add them to the selected list (if they’re not already on it). No duplicate profiles are created.
Do subscribers receive a double opt-in email?
The SweepWidget integration adds profiles directly to your list without double opt-in. If you want to send a confirmation email, you can set up a Klaviyo flow triggered when someone is added to the list.
Can I use segments instead of lists?
No, the integration only works with Klaviyo lists, not segments. Segments are dynamic and based on criteria, while lists allow direct profile additions.
Is the phone number collected?
Currently, only email and name are sent to Klaviyo. Phone numbers are not included in the integration.
How do I change which list subscribers are added to?
Edit your giveaway, go to the Newsletter Subscription entry method, click “Fetch Lists” to refresh the list options, then select the new list and save.