
Add A New Brand
In this article we will learn how to add a new/additional brand to your SweepWidget account.
First, click on the profile icon in the top right of the page and click Account Settings. Then click the Manage Brands tab. You can also click Manage Brands in the left sidebar.
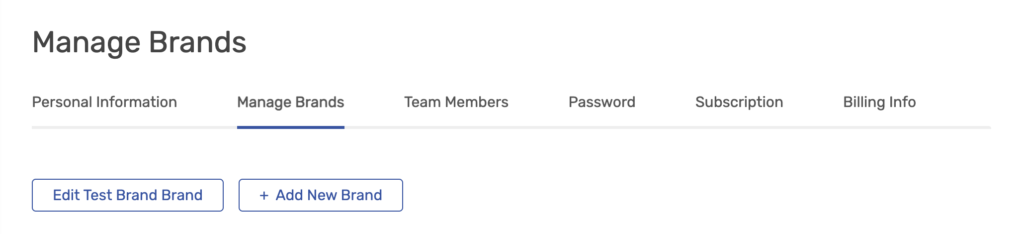
Click + Add New Brand, fill in Brand Name, Website URL and Timezone, and click Create Brand.
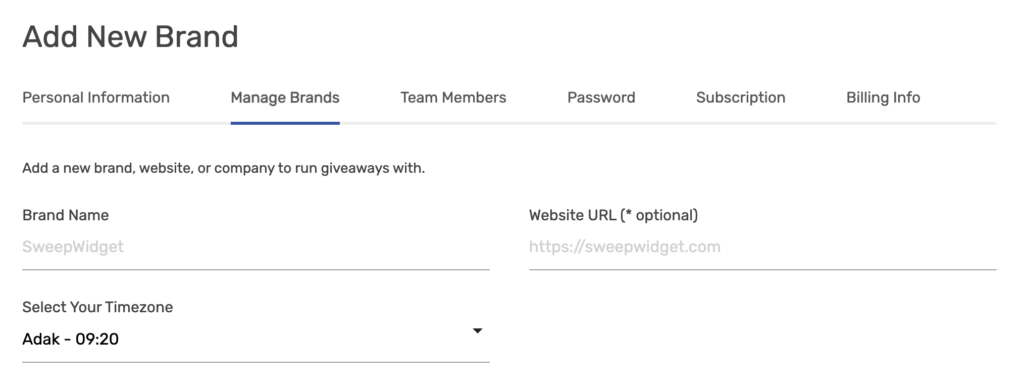
A new brand is created on your paid plan and uses one of your paid brand slots. Your plan includes 1 brand on Pro, 2 on Business, 3 on Premium and 5 on Enterprise. The Free plan includes 1 brand, so you can’t add a second brand on Free.
All slots in use? The Add New Brand button turns grey. You have two options:
- Buy an extra brand slot for $25/mo ($250/yr on annual plans). On the Manage Brands page, use the + button next to Paid brand slots, click Confirm Changes, then Add Slots. The charge is prorated to your current billing period. You can do the same under Brand Slots on the Billing page.
- Free up a slot by clicking Switch to Free on a brand you no longer need on your paid plan.
Extra brand slots are available on paid plans paid by card through SweepWidget. Accounts billed through the Shopify app can’t buy extra slots; upgrade the plan for more brands.